Setting up a Robotiq 2F gripper and UR10 for Moveit Noetic
It is worth loading the gripper and the robot arm together in Moveit, because we can easily control its position based on APIs that Moveit provides.
1. Condition
- OS: Ubuntu 20.04.5 LTS 64-bit
- Robot: UR10 (CB series)
- Gripper: Robotiq 2F-85
- Moveit: Moveit Noetic
2. Helpful websites
- Serru’s github (Go)
The guideline was based on ROS Kinetic Kame.
3. Prerequisite
- You need to have a URDF file in which UR10 is connected to Robotiq 2F gripper. If not, please follow this.
4. Steps
4.1. Launch Moveit! Setup Assistant
$ roslaunch moveit_setup_assistant setup_assistant.launch
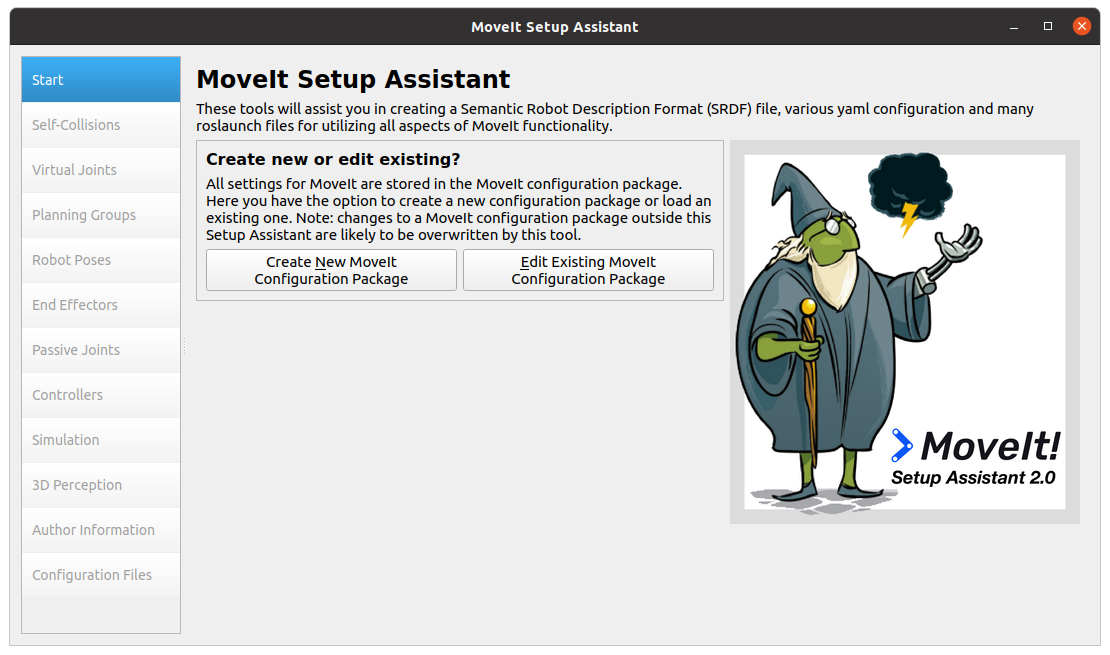
4.2. Load URDF file
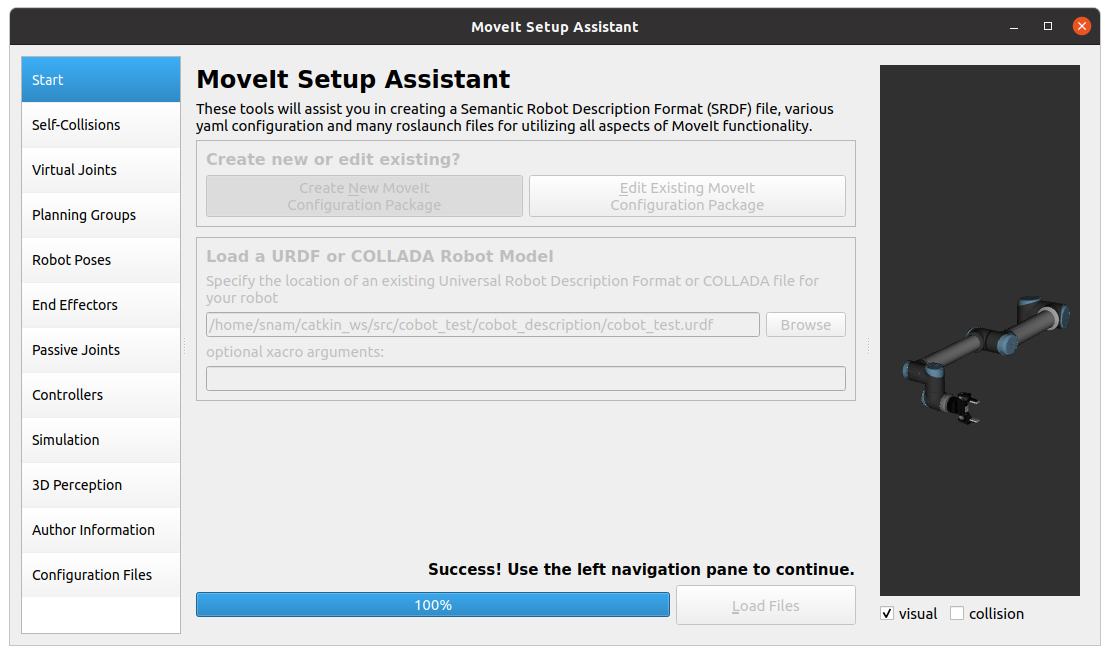
Click “Create New Moveit Configuration Package” and select the URDF file.
4.3. Self-Collisions
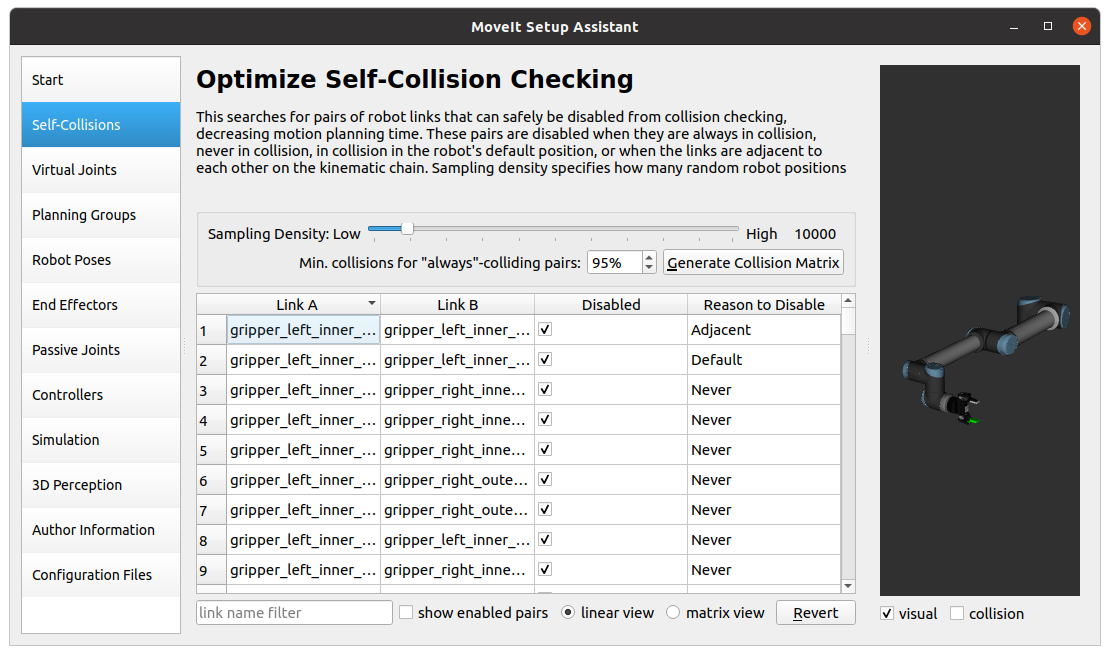
On the left tabs, click “Self Collisions”. On its bottom of the window, click “linear view”, and click “Generate Collision Matrix”.
4.4. Virtual Joints
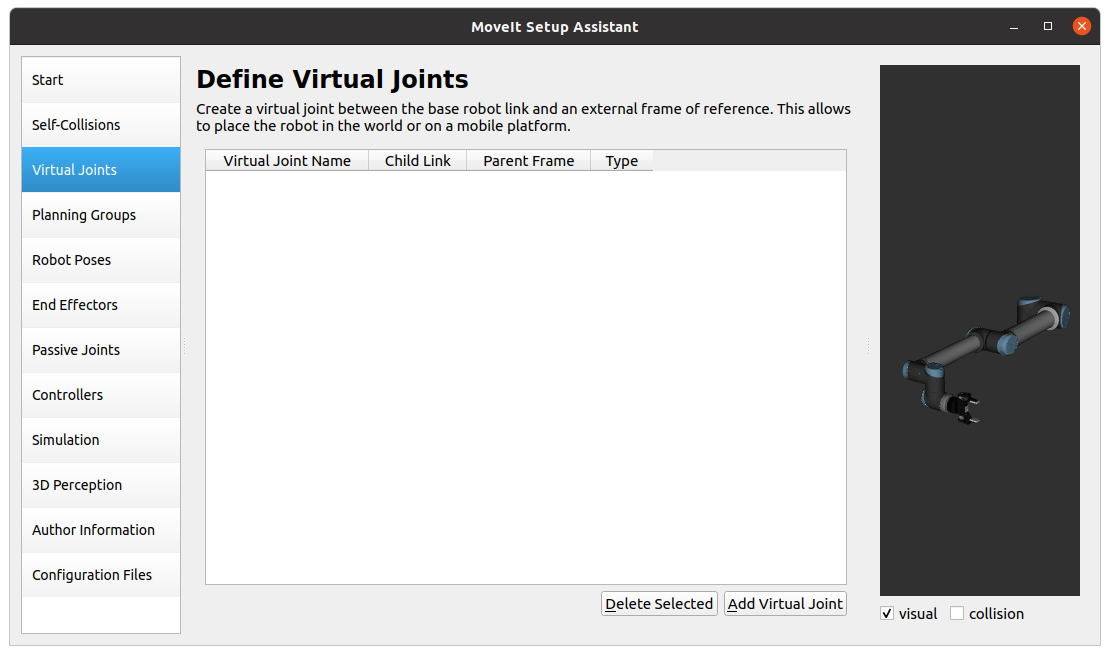
On the left tabs, click “Virtual Joints”. Then, click “Add Virtual Joint”.
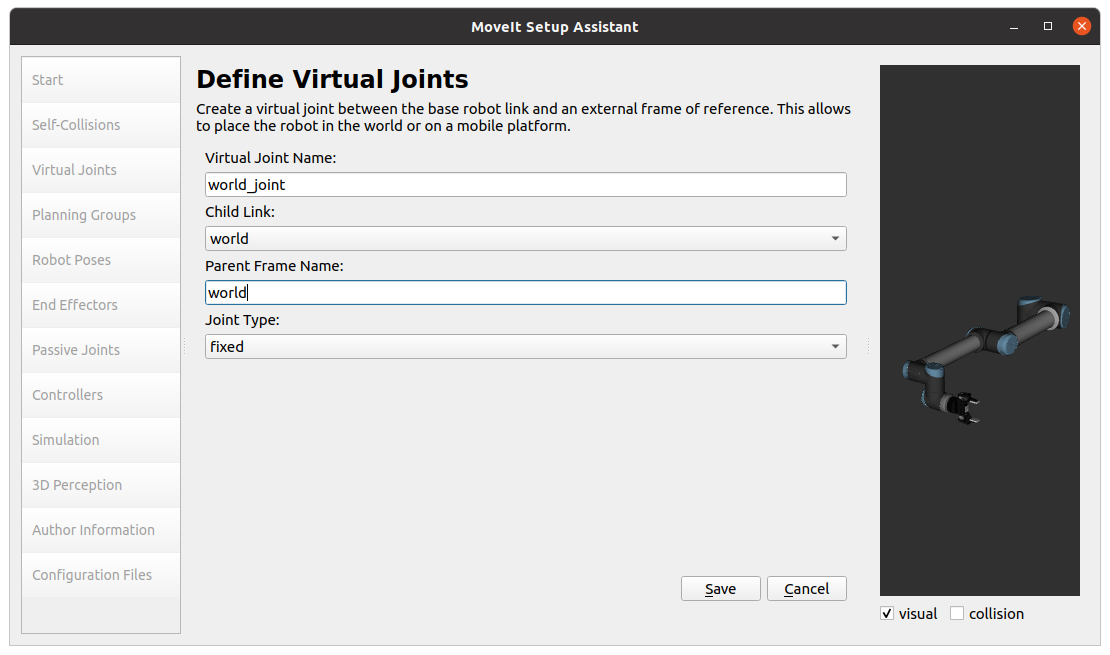
Type as the above figure shows.
4.5. Planning Groups
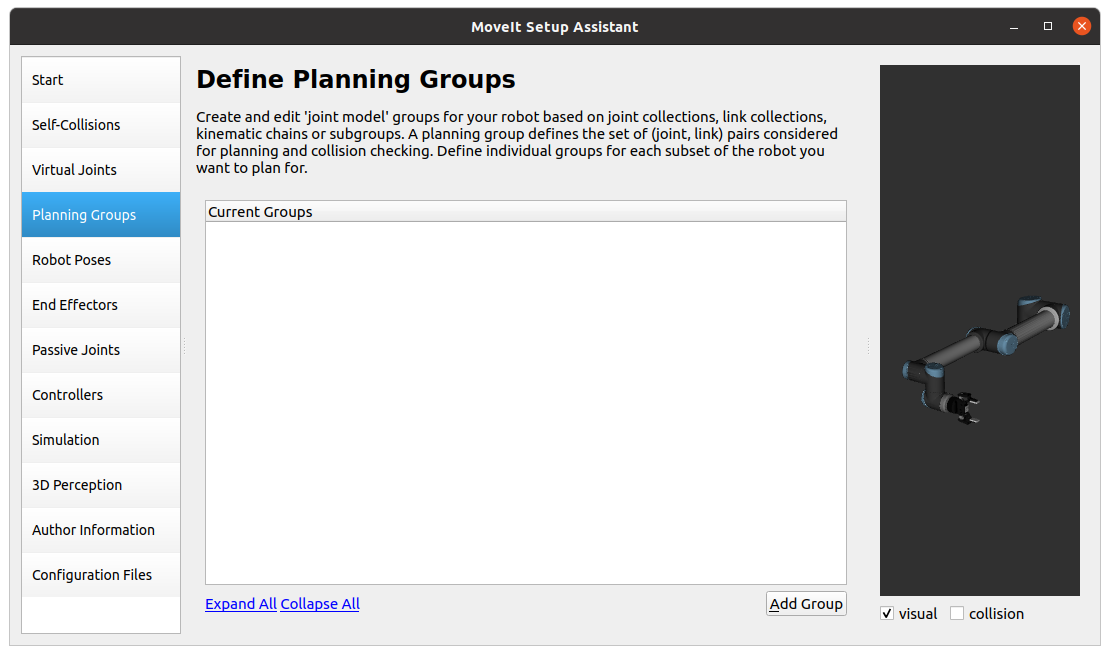
On the left tabs, click “Planning Groups”. And then, click “Add Group”.
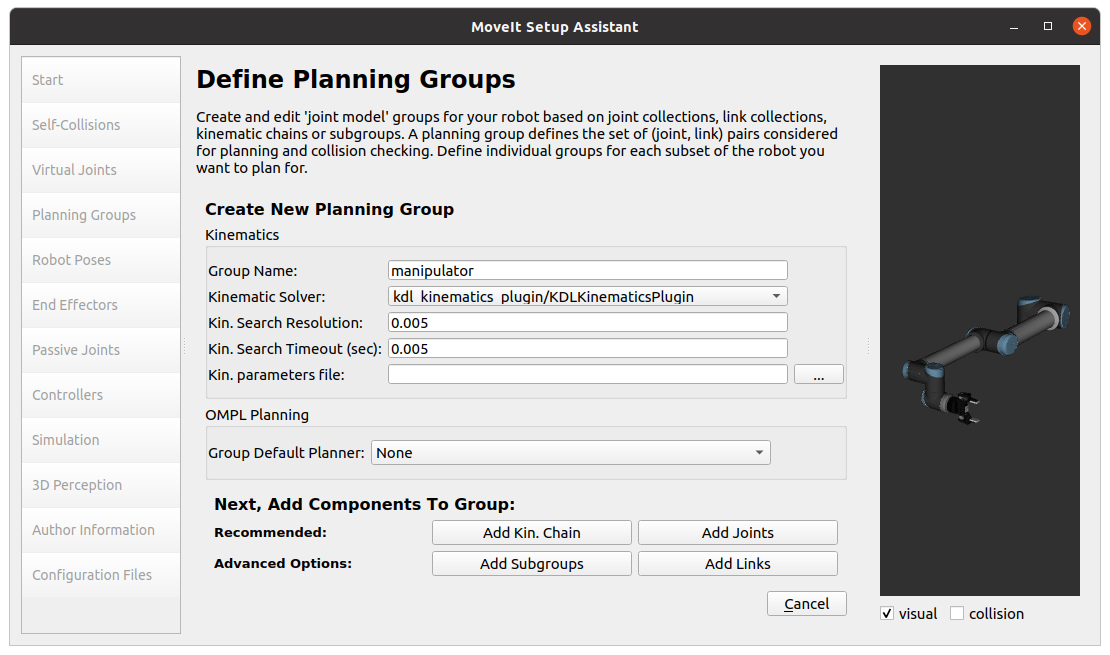
I am going to set two groups. One is “manipulator” and the other is “gripper”. Please type as the above figure shows. Next, click “Add Kin. Chain” button.
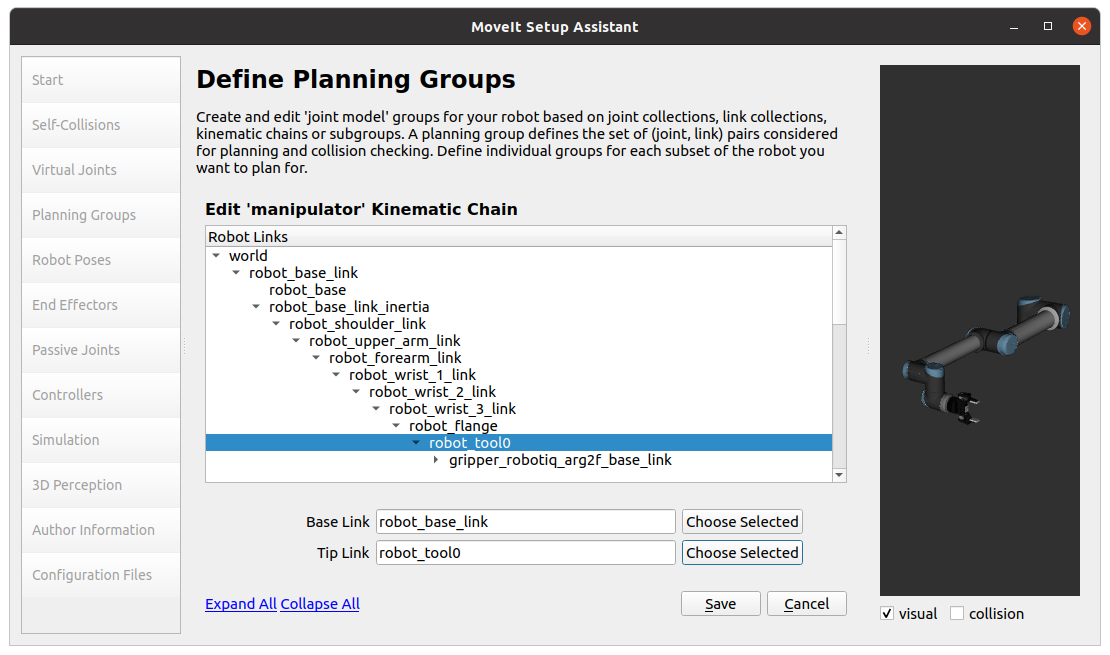
Make sure of the manipulator’s base link and tip link. Later, click “Save”.
Next, you need to make the other group for the gripper. Click “Add Group” button.
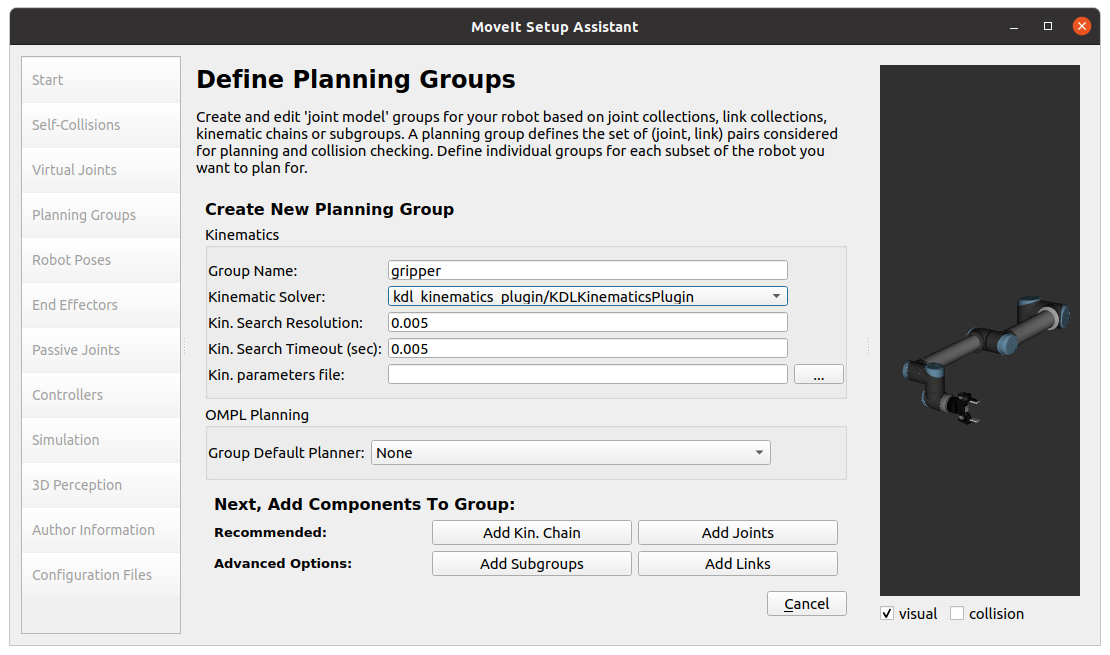
Type as the above figure shows. Then, click "Add Joints".
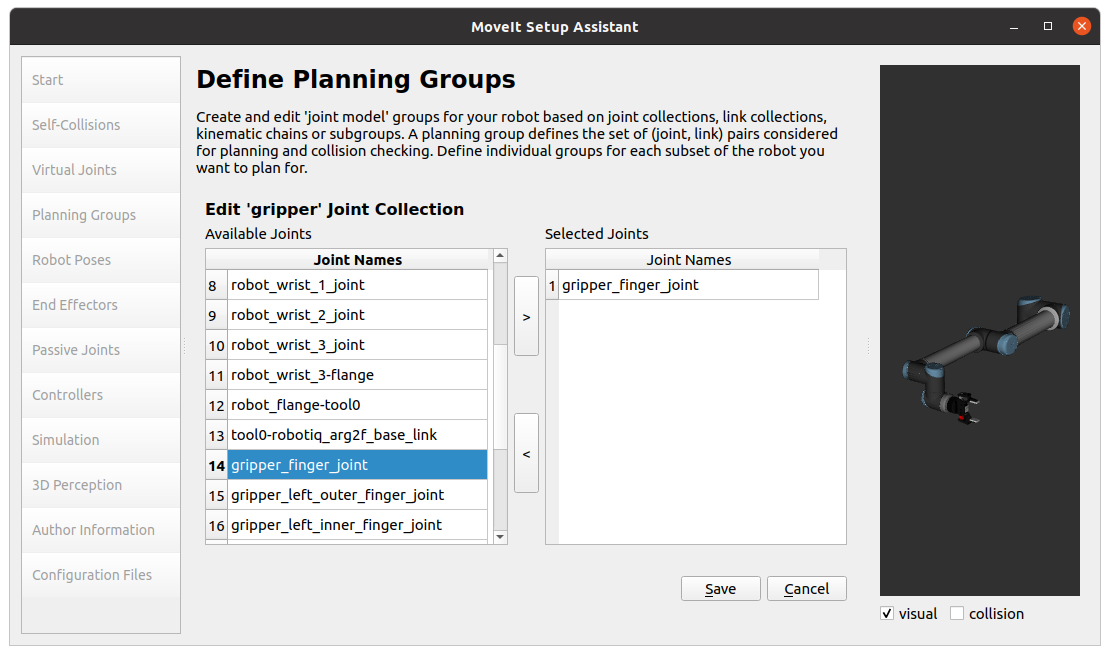
Select “gripper_finger_joint”. Then, click “Save”.
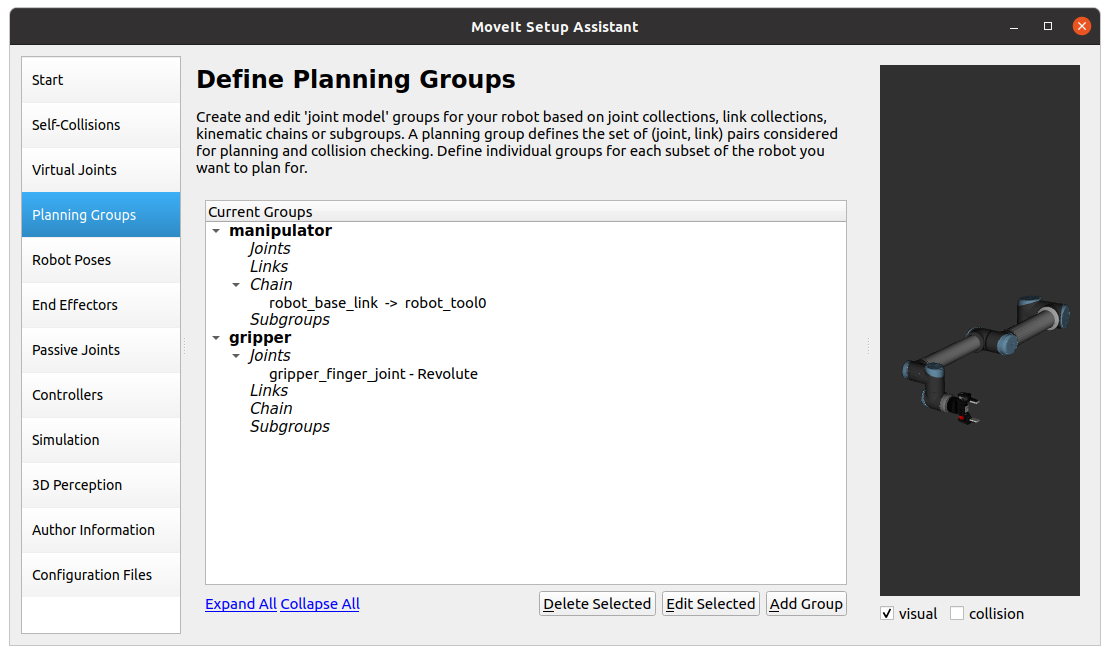
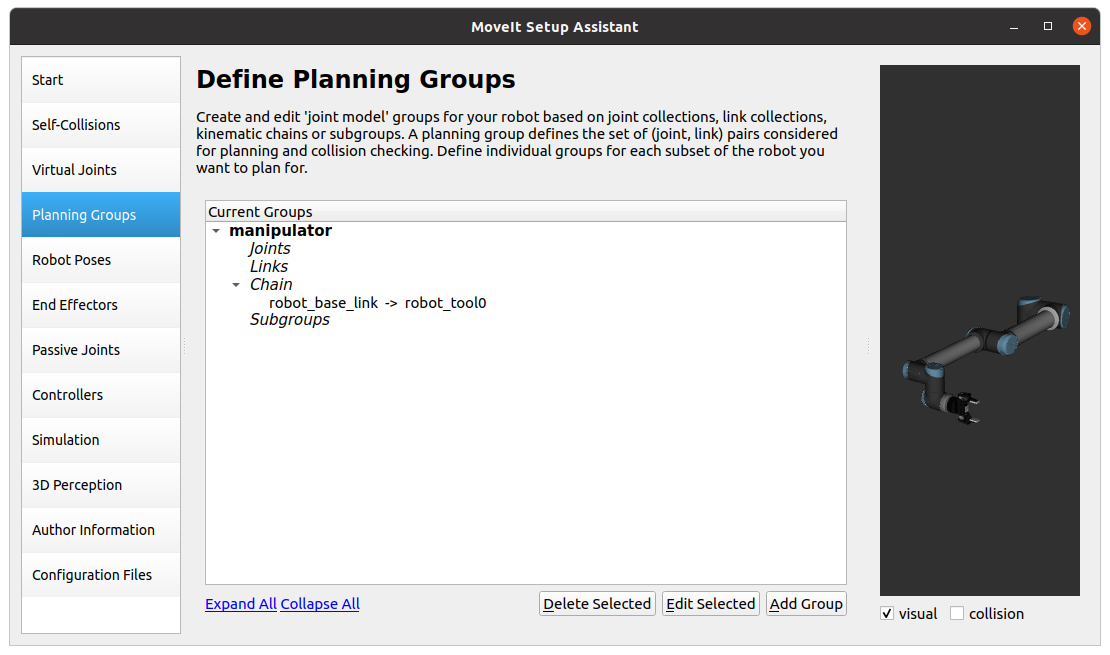
Double-check if your setup is same as the above figure.
4.6. Robot Poses
In this step, you can pre-define the poses of the robot. Click “Add Pose”.
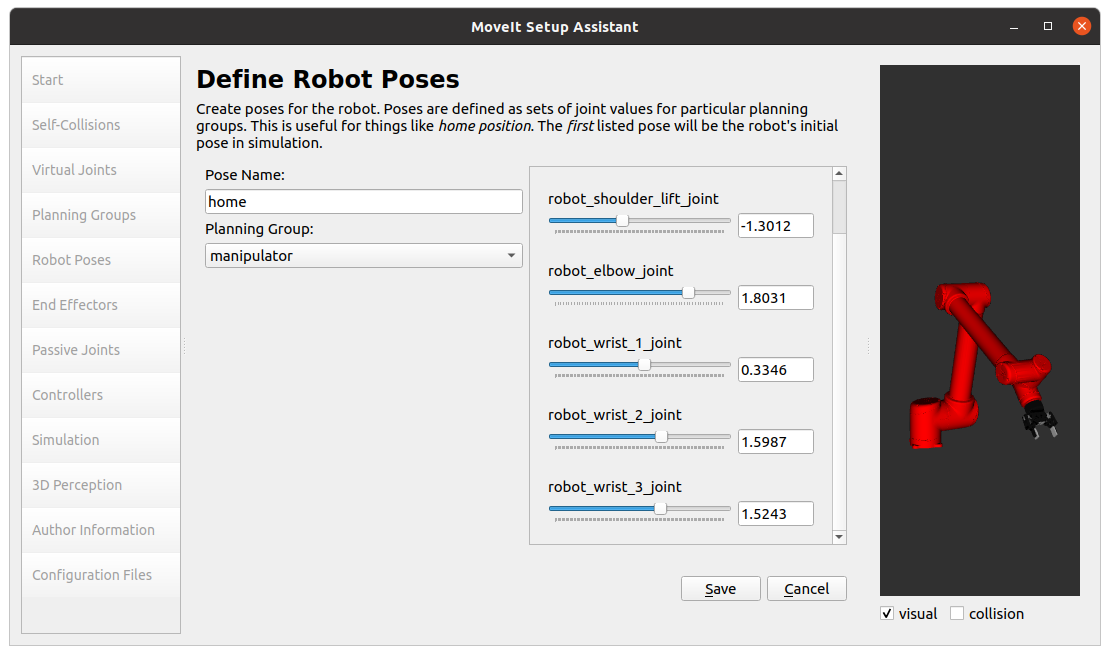
Make the “home” pose by setting the joint angles. Then, click “Save”.

It is time to pre-defin the gripper. Click “Add Pose” and type as the above figure shows. Then, click “Save”.
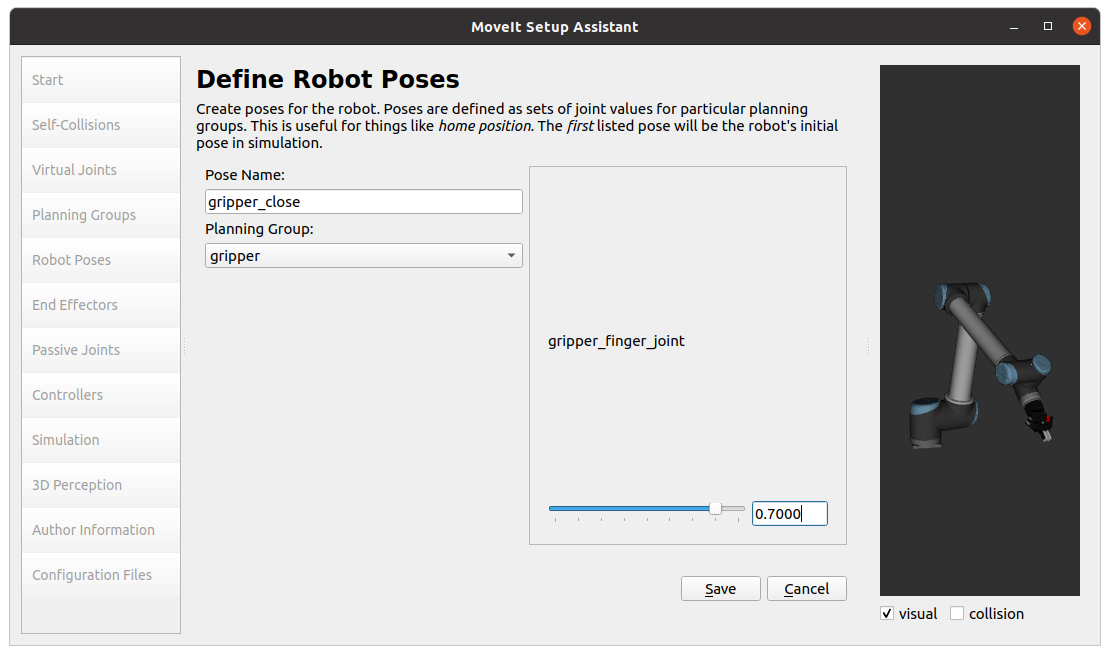
Let’s pre-define “gripper-close”.
4.7. End Effectors
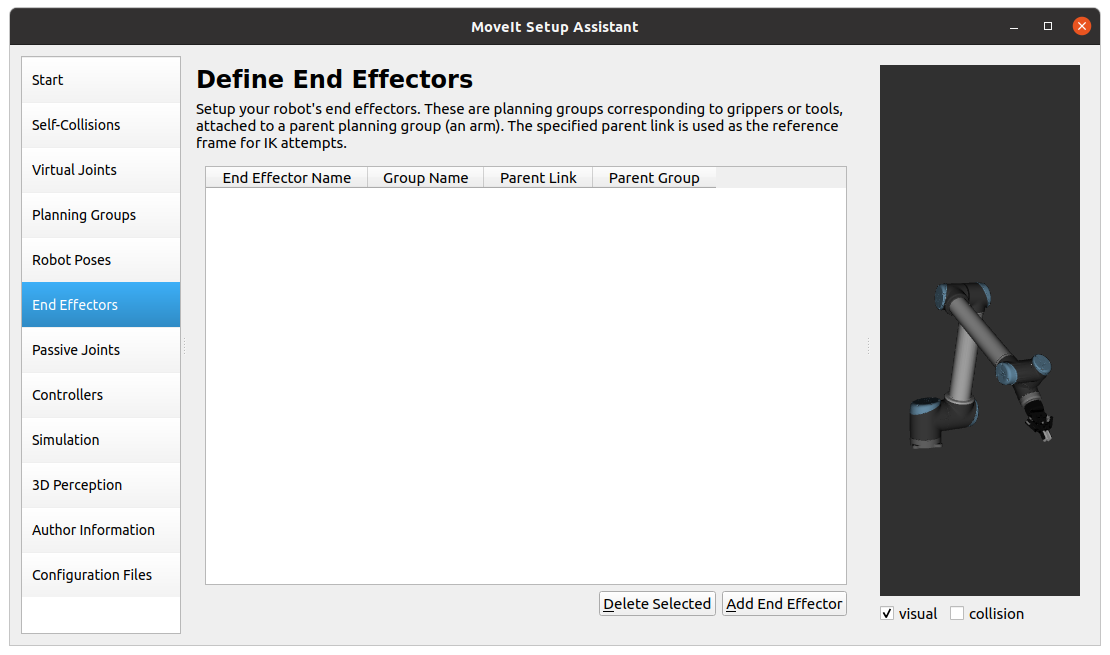
It is time to define the end-effector. Click “Add End Effector”.
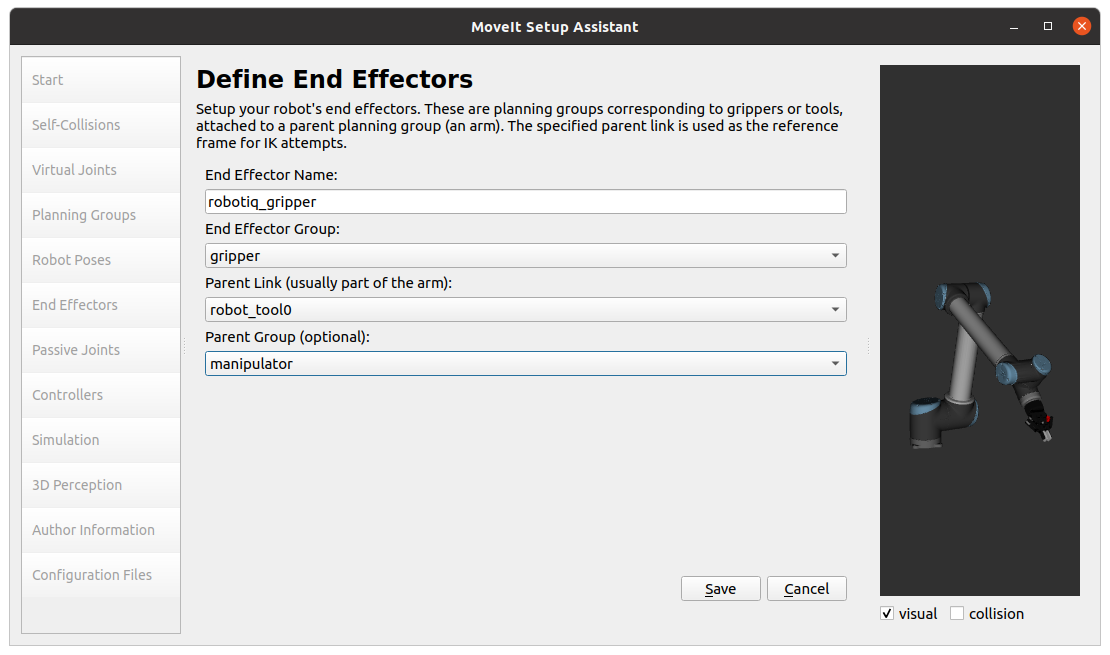
Set as the above figure shows. Click “Save”.
4.8. Passive Joints
The gripper is basically 1 degree of freedom (just from open to close). Therefore, we need to restrict unnecessary movements in the gripper. Because the gripper moves by controlling "gripper_finger_joint", and the other parts follows as the joint moves. Therefore, we need to set such parts as passive joints.
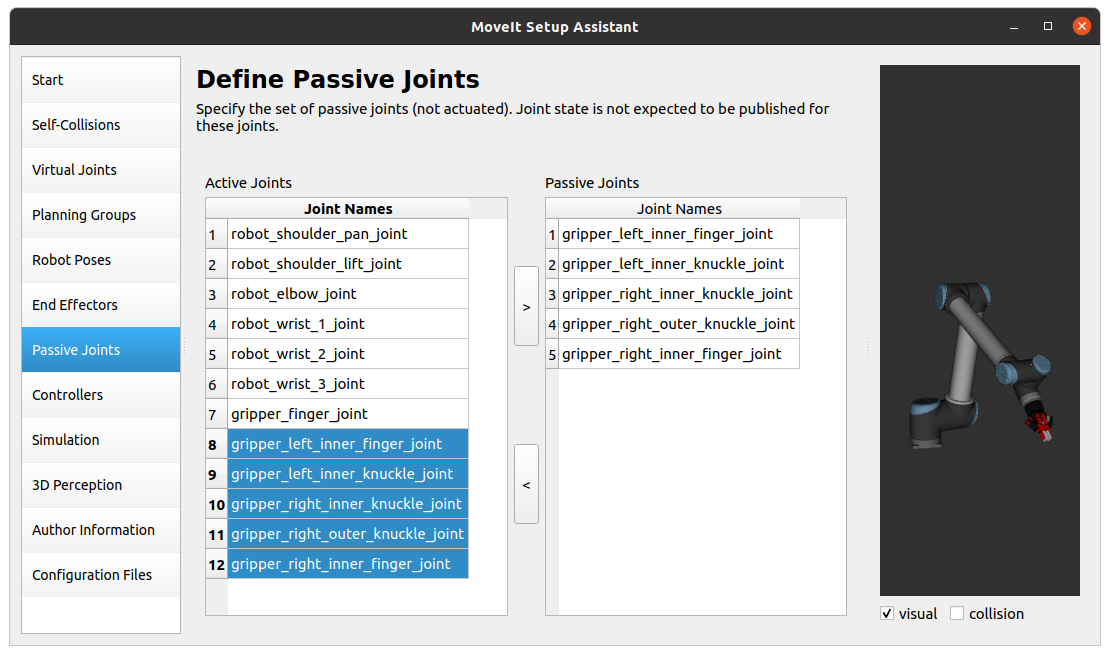
Set as the above figure shows.
4.9. Controllers
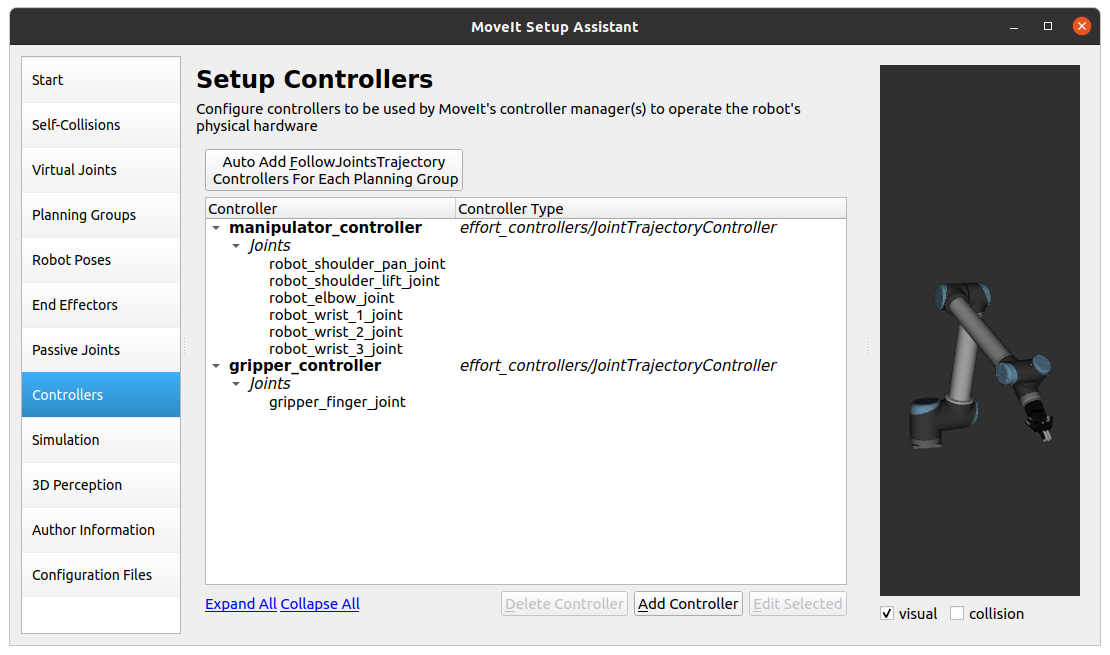
This program will automatically assign the controllers. Click “Auto Add FollowJointsTrajectory…” button.
4.10. Simulation
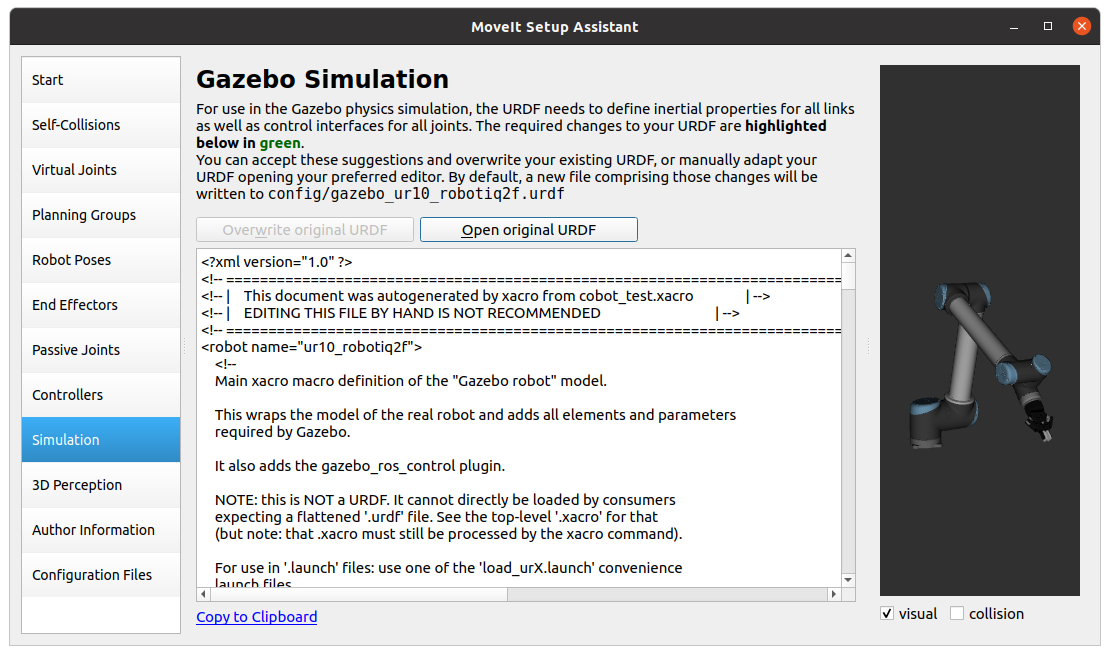
If you click “Simulation” in the left tab, you need to decide if you want to overwrite some codes for Gazebo simulations. I recommend to overwrite.
4.11. Author Information
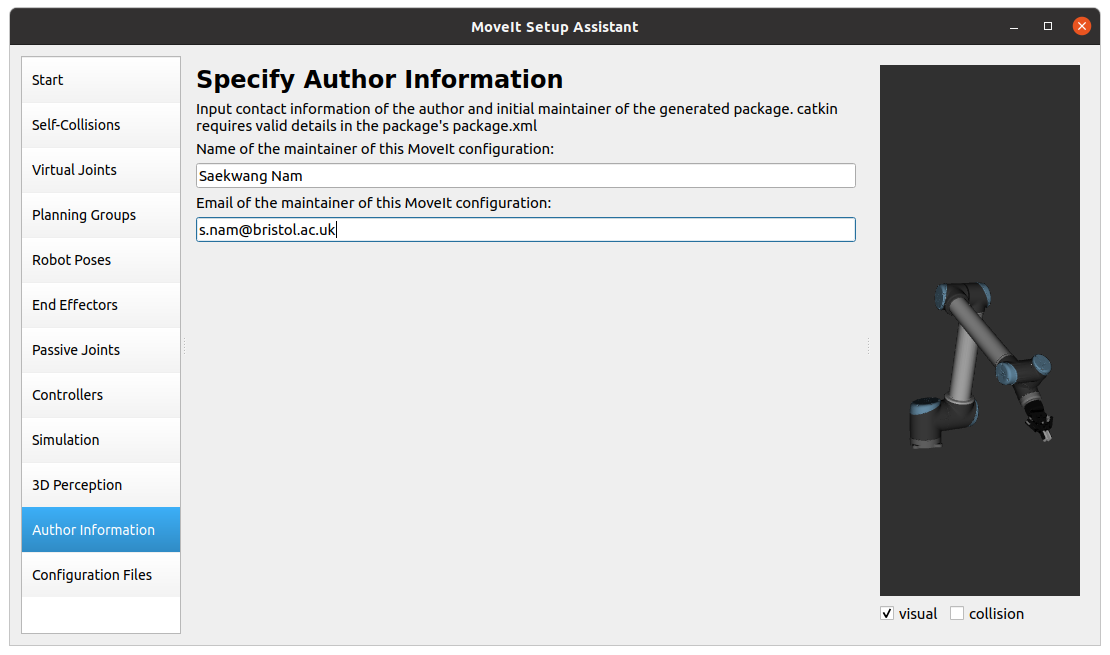
Include your information.
4.12. Configuration files
This program will generate a package so that you can launch the UR10 + gripper in Moveit.
You first need to create a folder under catkin_ws/src. I set the package name as ur10_gripper_moveit.
~/catkin_ws/src$ mkdir ur10_gripper_moveit

Click “Browse” button and locate the ur10_gripper_moveit folder. Next, click “Generate Package”.
5. Lauch Moveit!
You first need to build the catkin workspace. Locate under catkin_ws and execute the below.
~/catkin_ws$ catkin_make
You can try to launch any predefined files. They are under catkin_ws/src/ur10_gripper_moveit/launch.
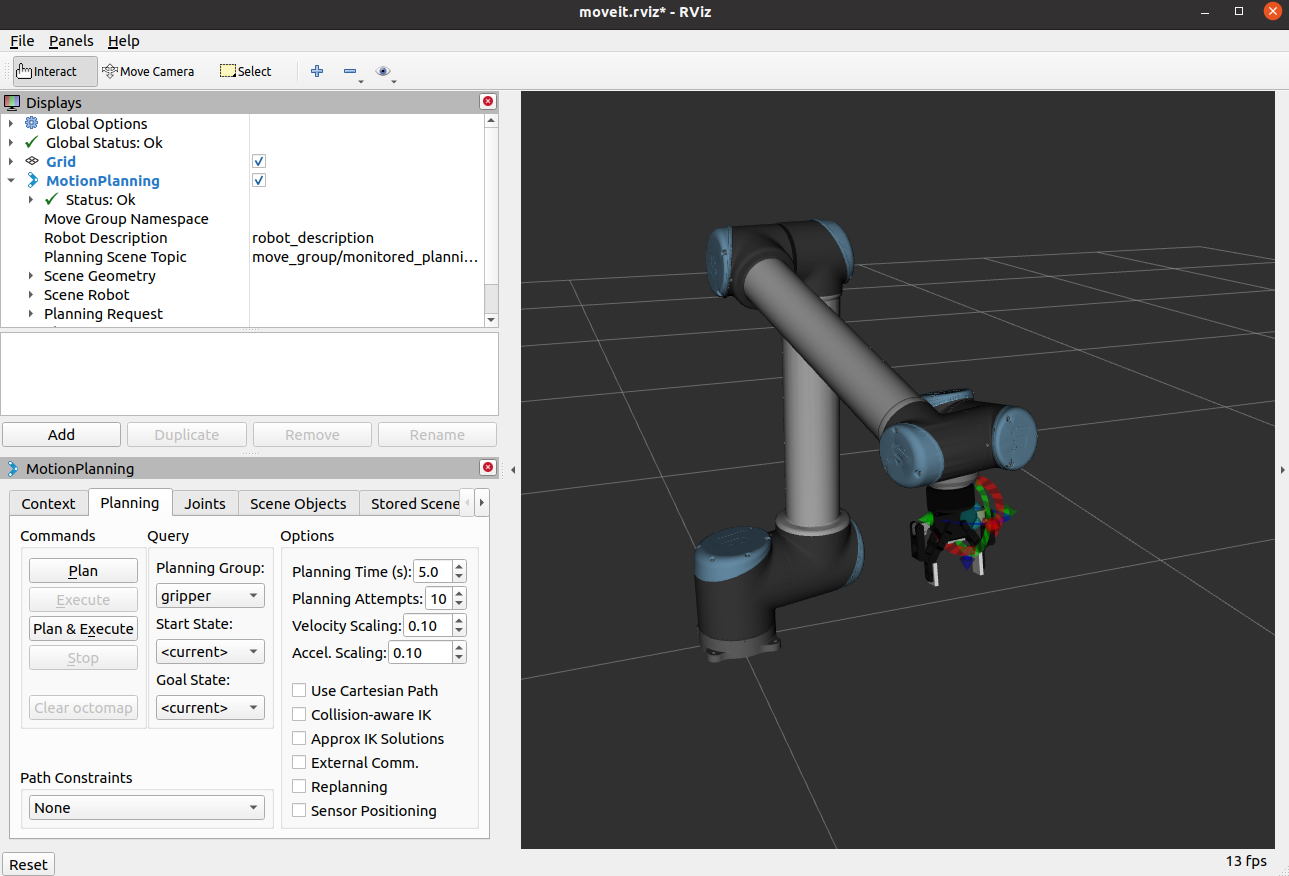
I would like to try demo.launch.
$ roslaunch ur10_gripper_moveit demo.launch
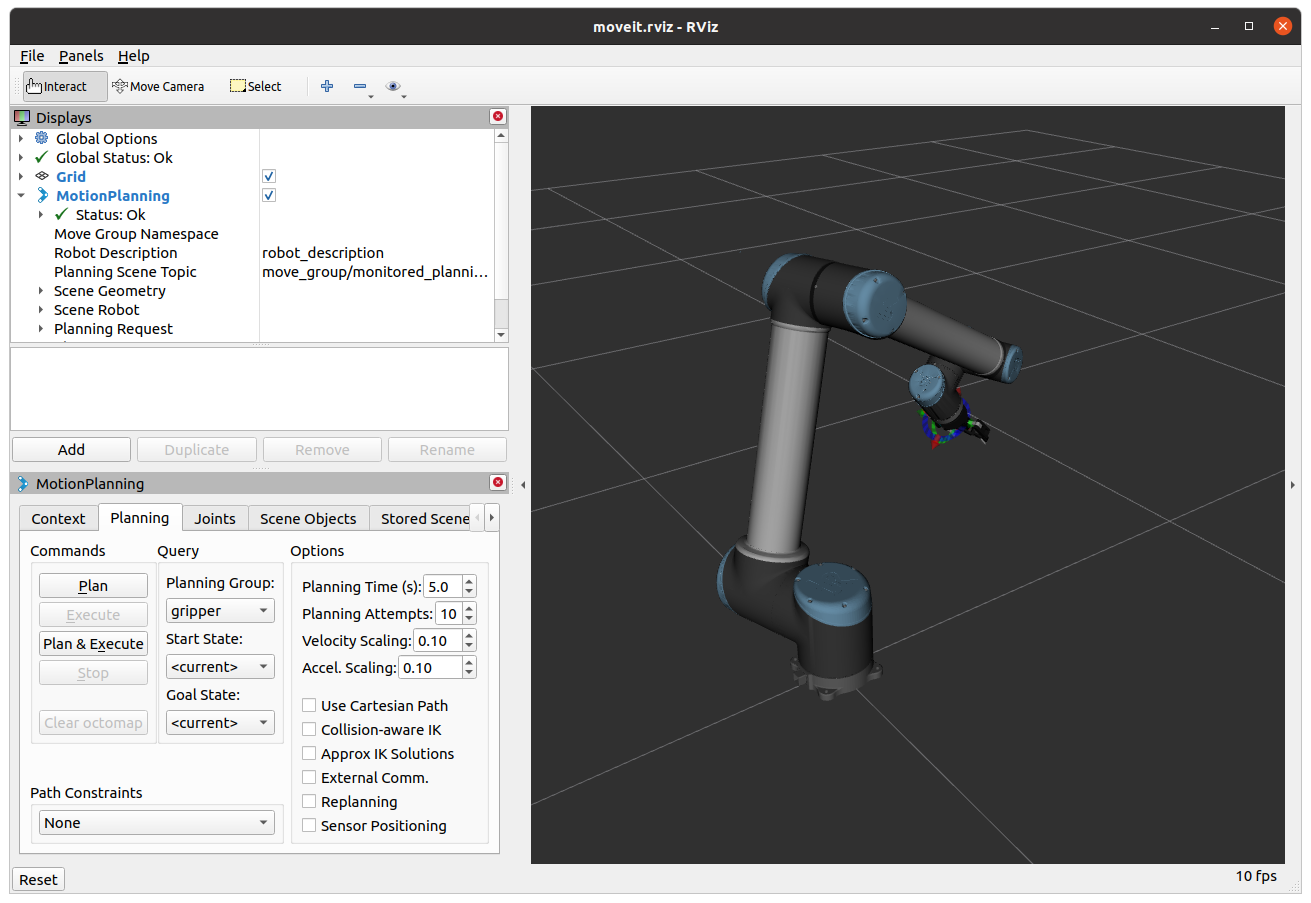
You should see like the above figure. Feel free to move the gripper and manipulator.